
Your unsubscribe link is doing two jobs badly. Fix it in five steps.
The plainest, ugliest page in your whole business is the one you hand every unsubscriber on their way out.
Somebody opts out of your emails and where do they land? A blank system page that looks like an error. No brand, no “here’s how to hear from us less instead of never,” no dignity. And on the back end, you’re trusting that the opt-out actually stuck. For a business where deliverability is oxygen, that’s two problems stacked on top of each other — a bad last impression and a compliance step you can’t see working.
You can replace the whole thing with a branded page and an automation that marks the contact do-not-disturb for email the instant they click. Five steps, one afternoon, done for good.
A quick note, not legal advice: unsubscribe handling touches CAN-SPAM and similar rules. This walks through the mechanics inside your account — for whether your specific setup is compliant, talk to someone who does law for a living.
The five-step build
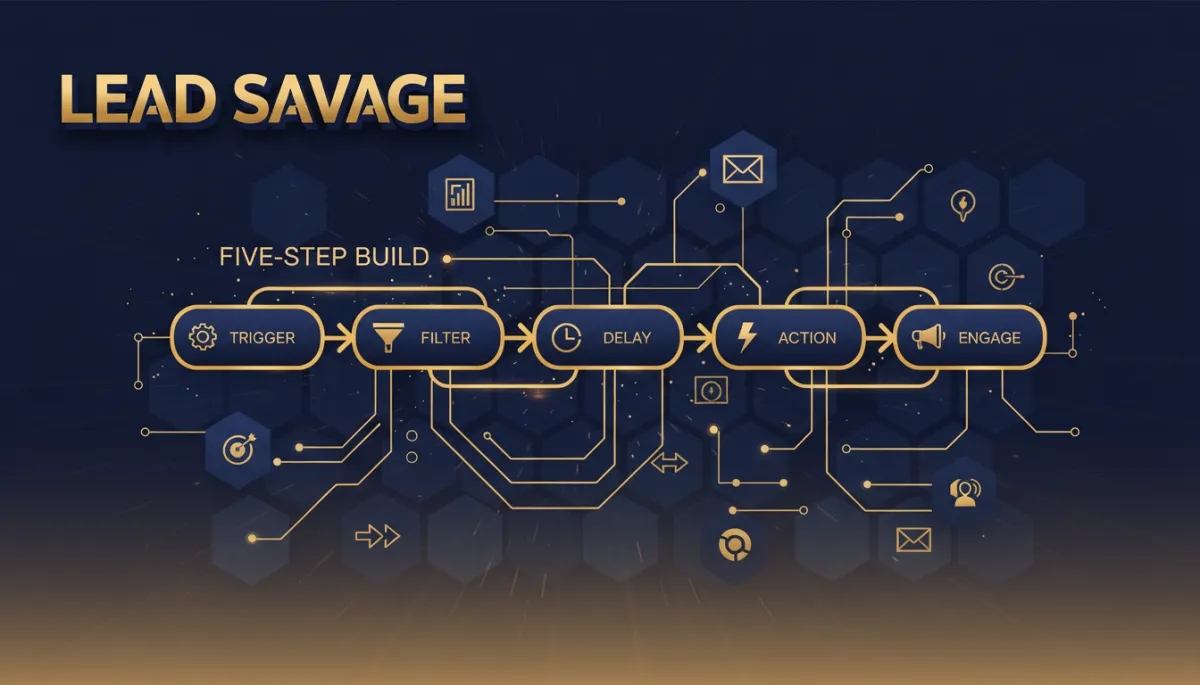
Here’s the whole thing, start to finish.
One — build the landing page. Make a simple funnel or website page that says what you want an unsubscriber to see. Publish it and copy the URL.
Two — wrap it in a Trigger Link. A Trigger Link is a trackable URL that tells your account the exact moment someone clicks. Point it at the page you just built.
Three — swap it into your footer. Go to Marketing, Trigger Links, Add Link, name it “Unsubscribe Link,” paste your page URL, save.
Four — build the workflow. Trigger: “Trigger Link Clicked,” filtered to your Unsubscribe Link. Action: “Set Contact DND,” choose “Enable DND for Specific Channels,” select Email. Save and publish it.
Five — wire it into the email. Open your email footer, highlight your unsubscribe anchor text, hit the link icon, and select your Unsubscribe Link from the list. Save.
The takeaway
Spend the afternoon. Build the page, wrap the Trigger Link, build and publish the workflow, wire it into the footer. Then send yourself a test and click your own unsubscribe link to watch the DND flip. Deliverability isn’t luck. It’s a hundred small settings like this one, handled once, working while you sleep.
